Maven :
The Maven build-tool is one of the most commonly used tools in the Java ecosystem. In addition to software development, it is also used when scripting automation tests using java in order to manage dependencies.
As such, being familiar with the tool is crucial to working in a productive manner. While Maven makes managing dependency files a whole lot easier, it also helps resolve dependency issues and conflicts in a better way as compared to manual methods. Given the useability of the tool, there are also various factors which turn potential users away. One such factor is the way of creating a maven project. While the CLI method is easy, it requires Maven to be installed in the system.Maven project creation using Eclipse has a whole ton of tutorials on the internet, but it is still complicated. So, in this tutorial, we'll be taking a dive into Maven project creation using GUI, and in particular, using Visual Studio Code.
Step 1:
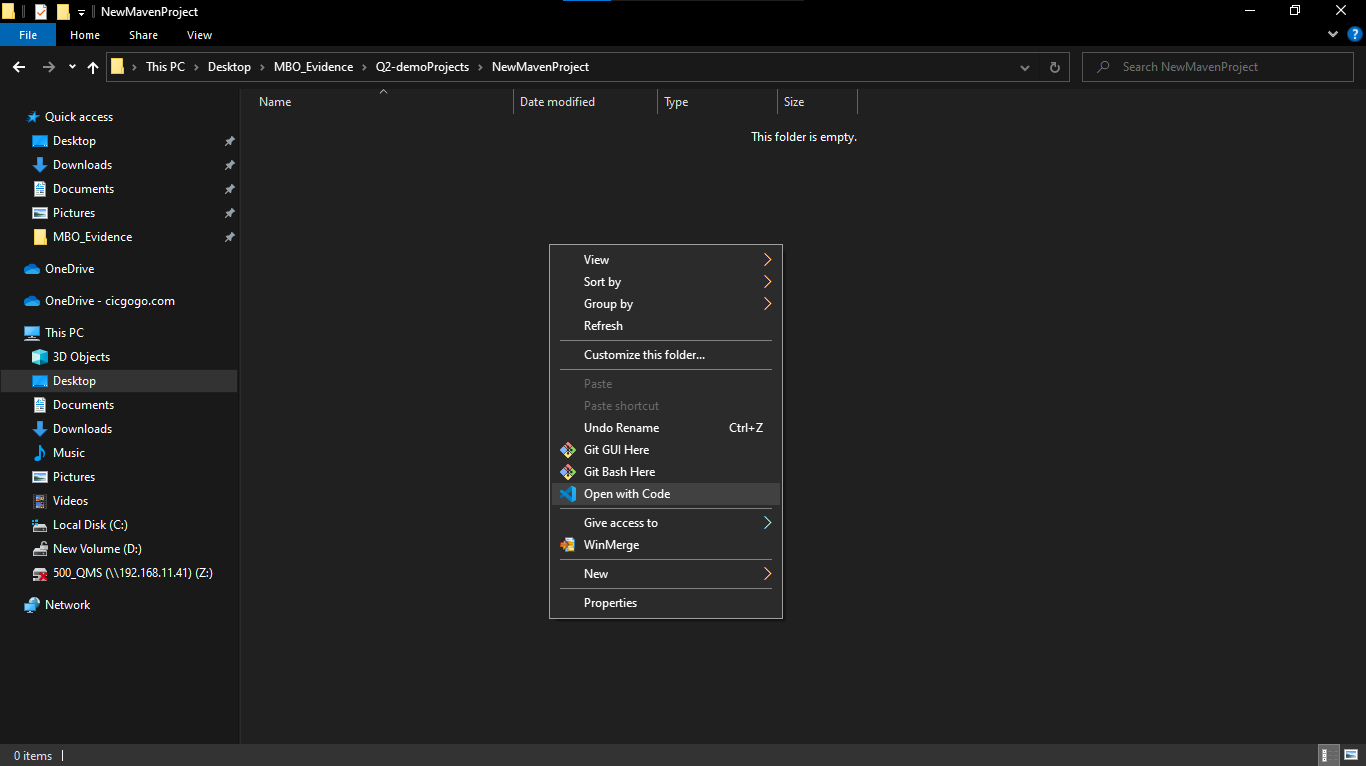
Create a clean new folder in your desired location and open it in Visual Studio Code.
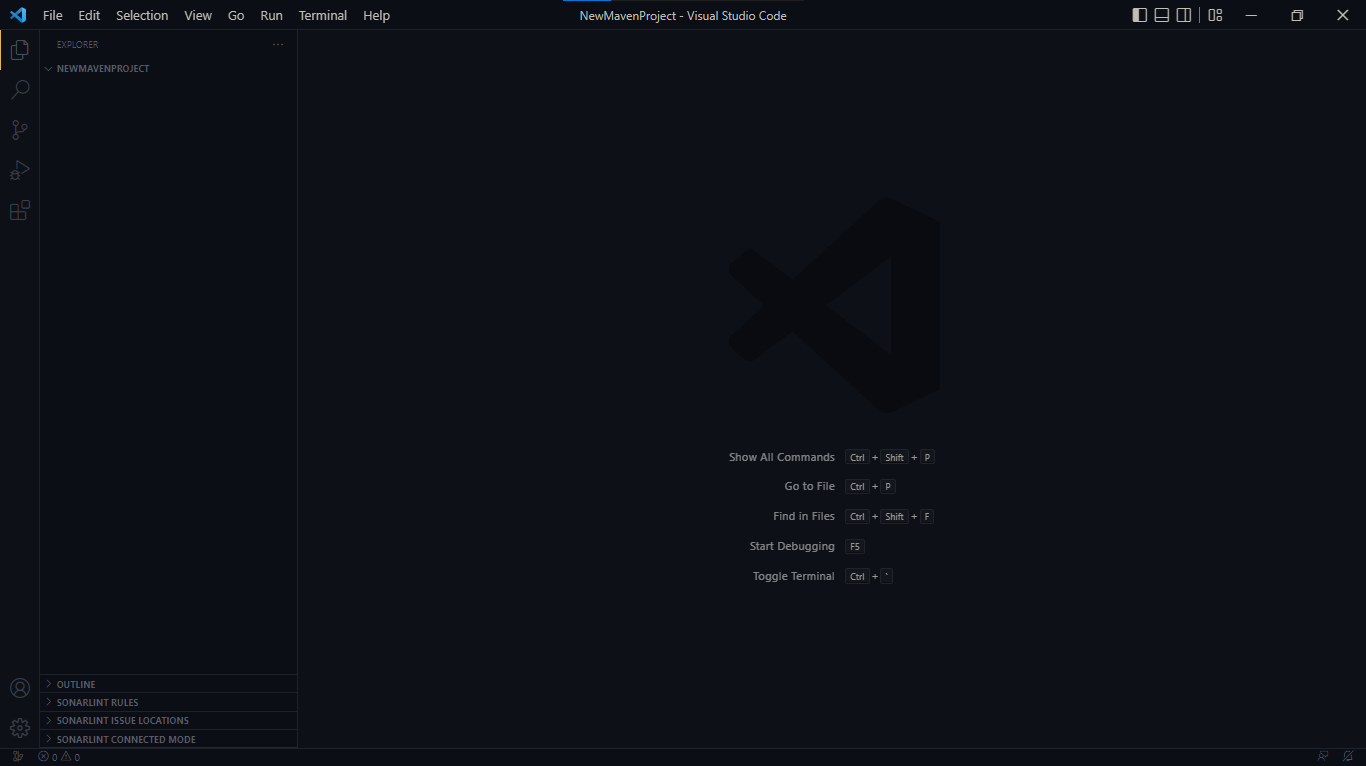
Once you have created a folder and opened VS Code, we will proceed with creating the Maven project. Use the shortcut keys Ctrl + Shift + P to bring up the quick prompt in VS Code. Then type in 'Maven' and select 'Maven: Create Maven Project' from the dropdown.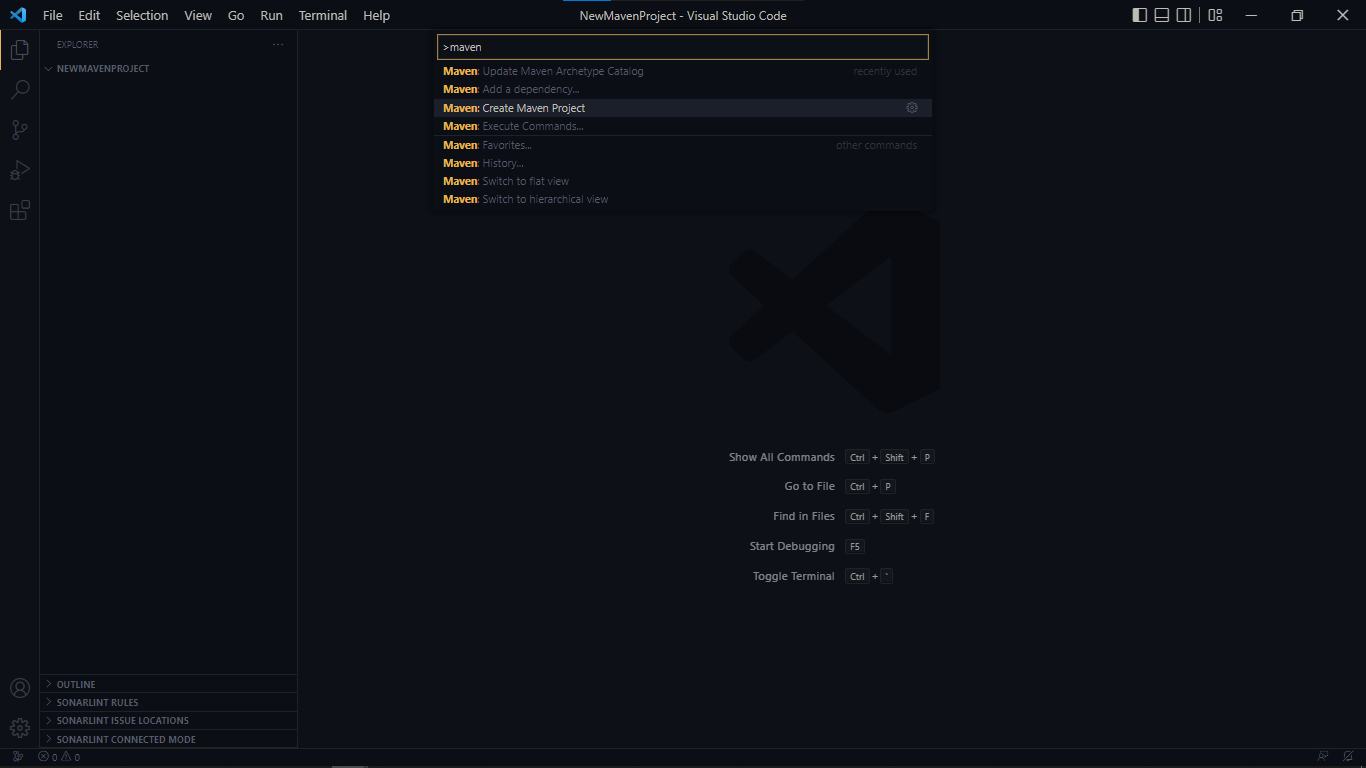
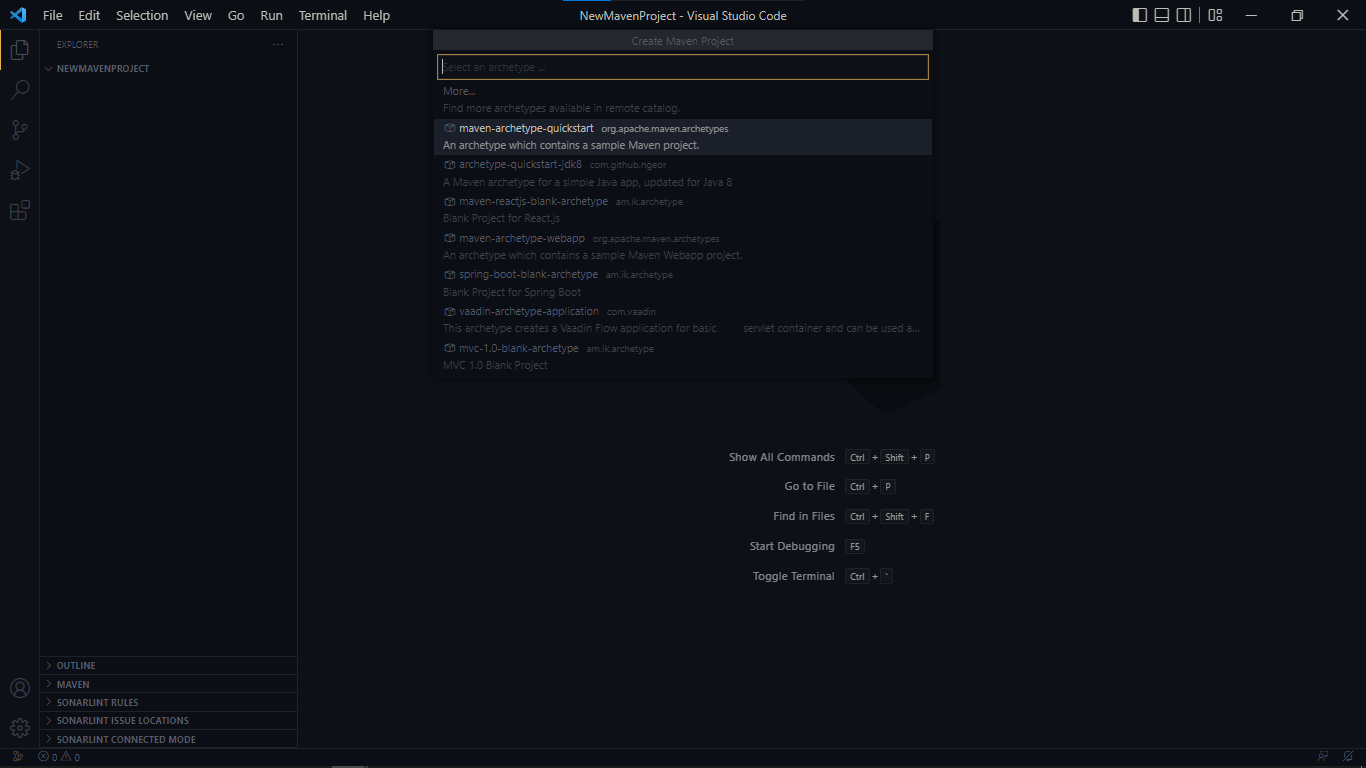
Now another dropdown with a list of Maven Archetypes will be shown. Select 'maven-archetype-quickstart' from the dropdown and then version '1.4' from the next dropdown to select the version of the maven quickstart archetype.

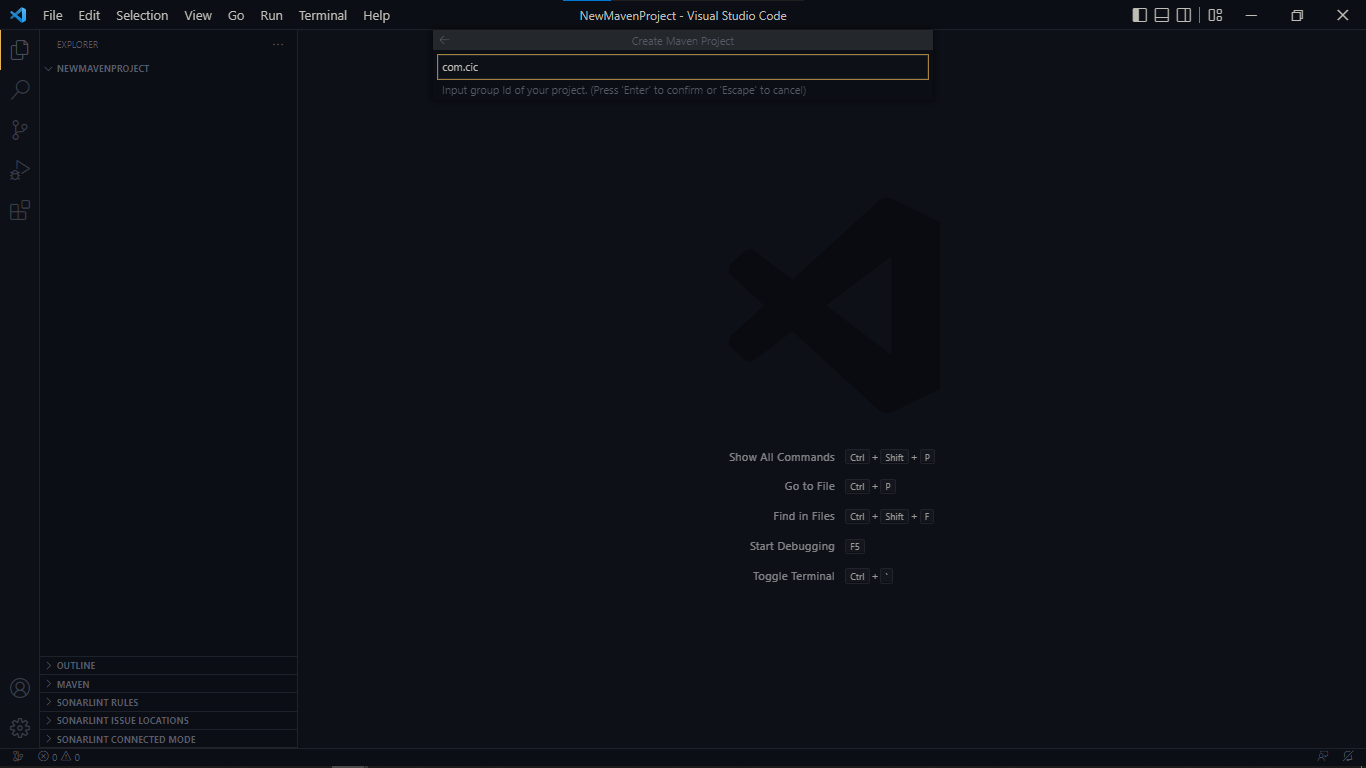
In the next dropdown, input the GroupID. I have input 'com.cic' as an example.
Next, enter the ArtifactID and hit Enter again. I have used 'new_maven_project' as my Artifact.

Once you hit 'Enter', a pop up for project location selection will be shown. Since we already opened VS Code in the desired folder, just click on the 'Select Destination Folder' button. In case you didn't open VS code from the desired location, navigate to the desired location and select it.

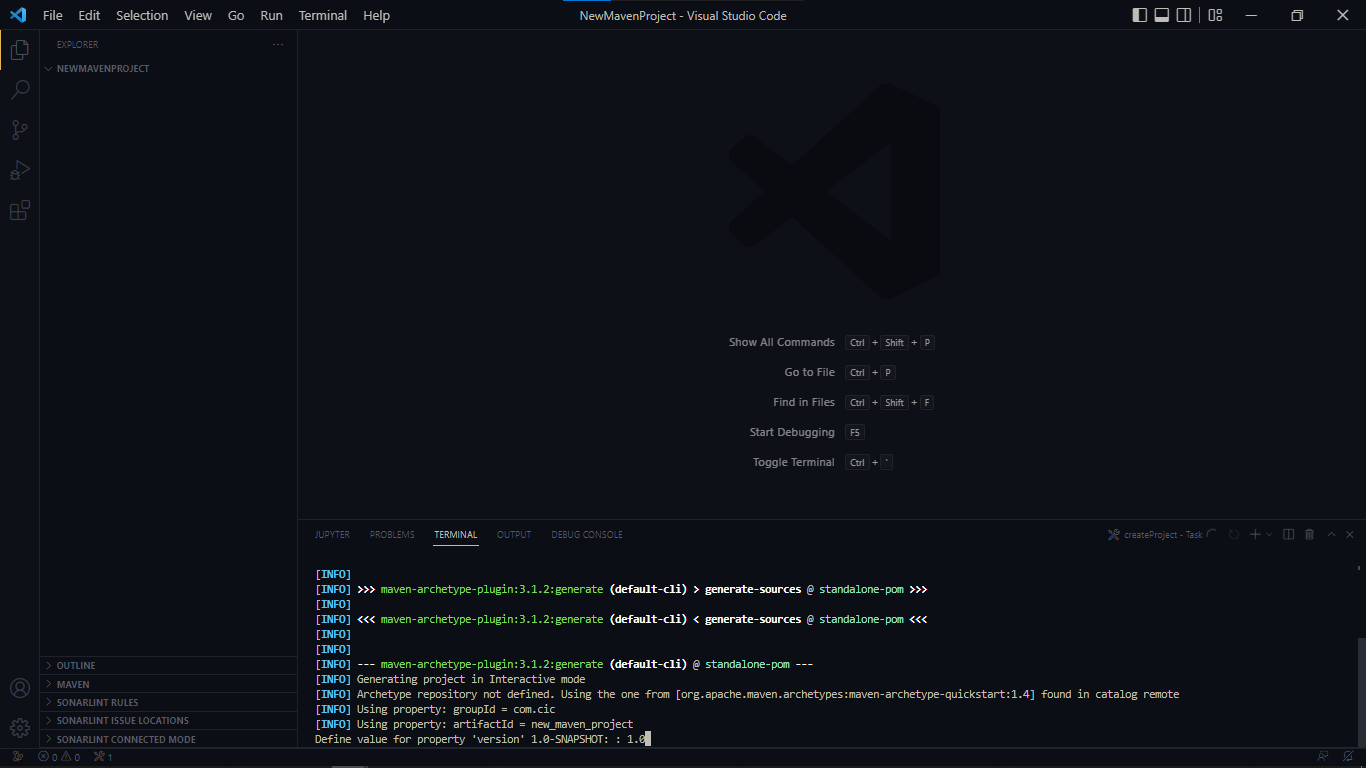
Once you select the location, a terminal will open in the lower section of the VS Code window. Click on the terminal and input the version of your project. I have input 1.0 as my project version.
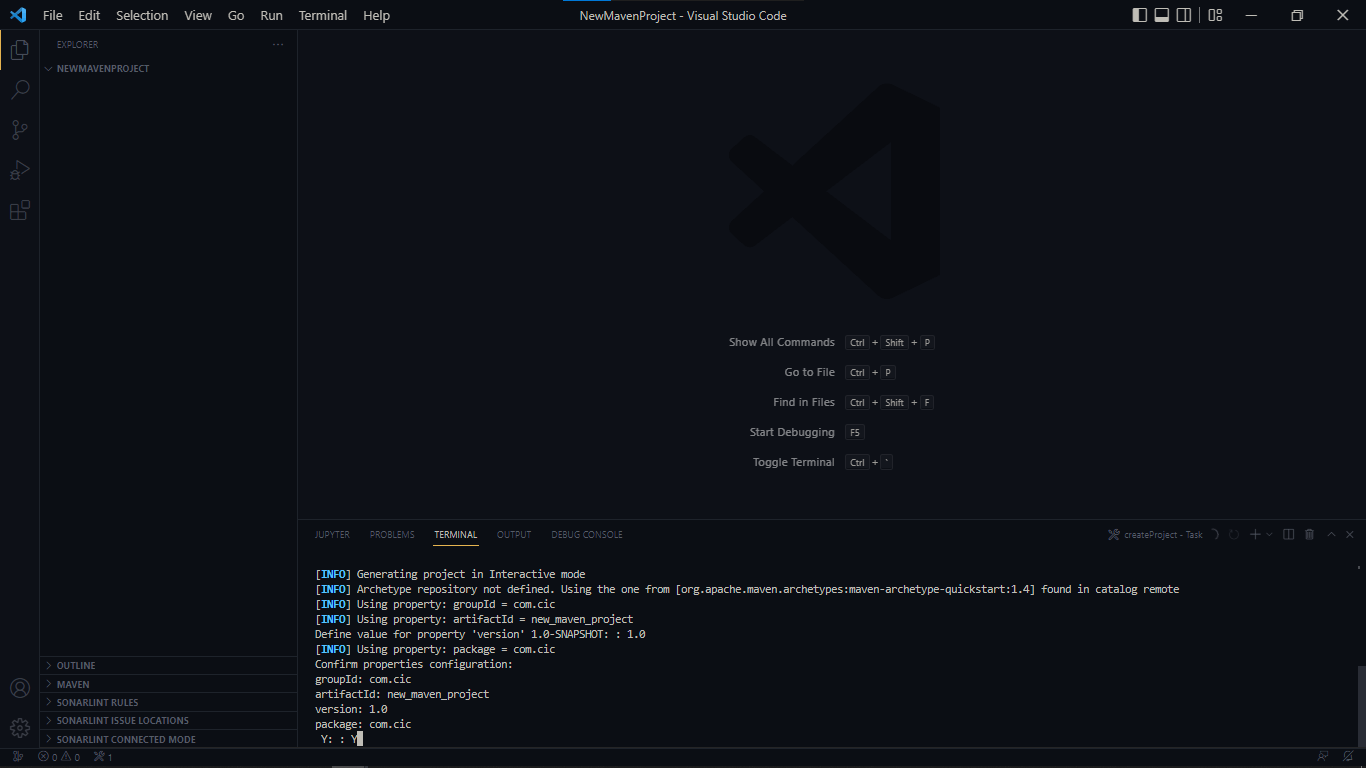
Next,it will ask you to confirm the properties for the project. Type Y and hit Enter.
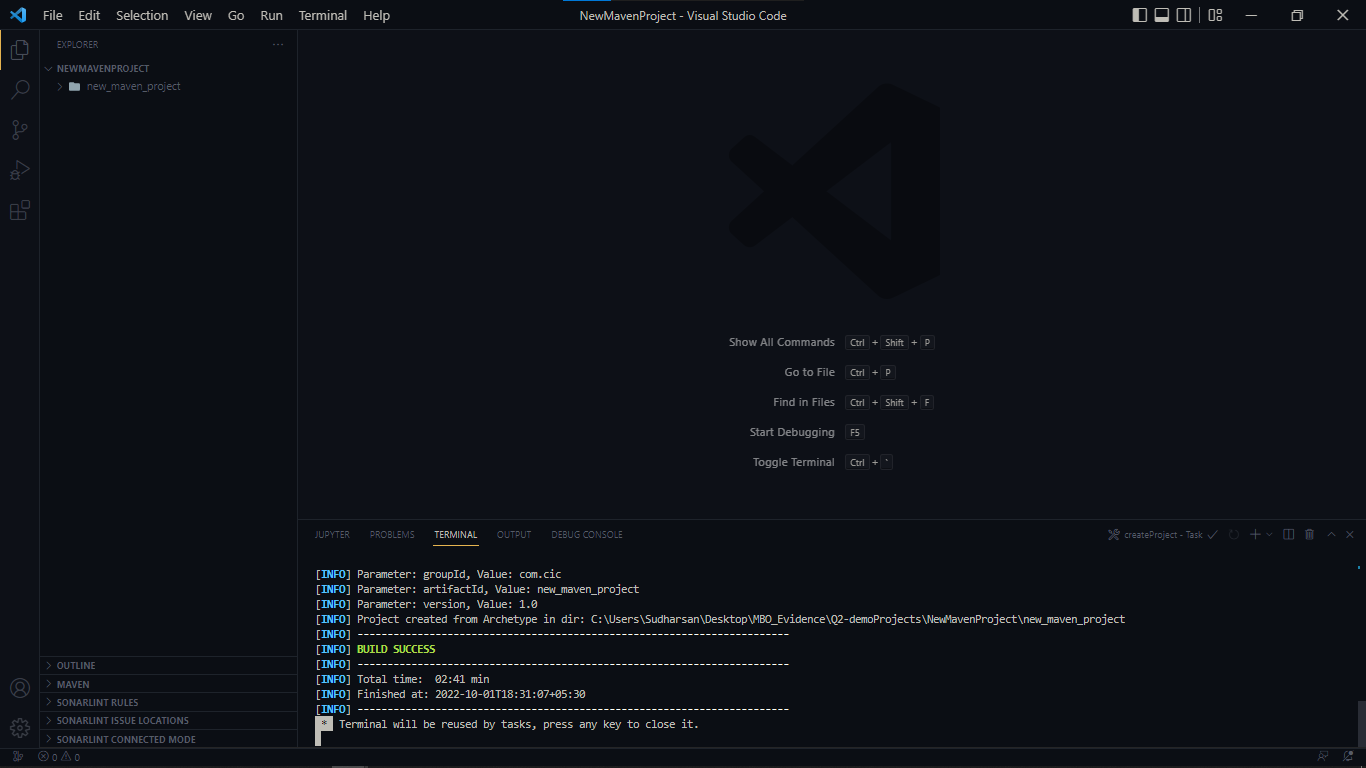
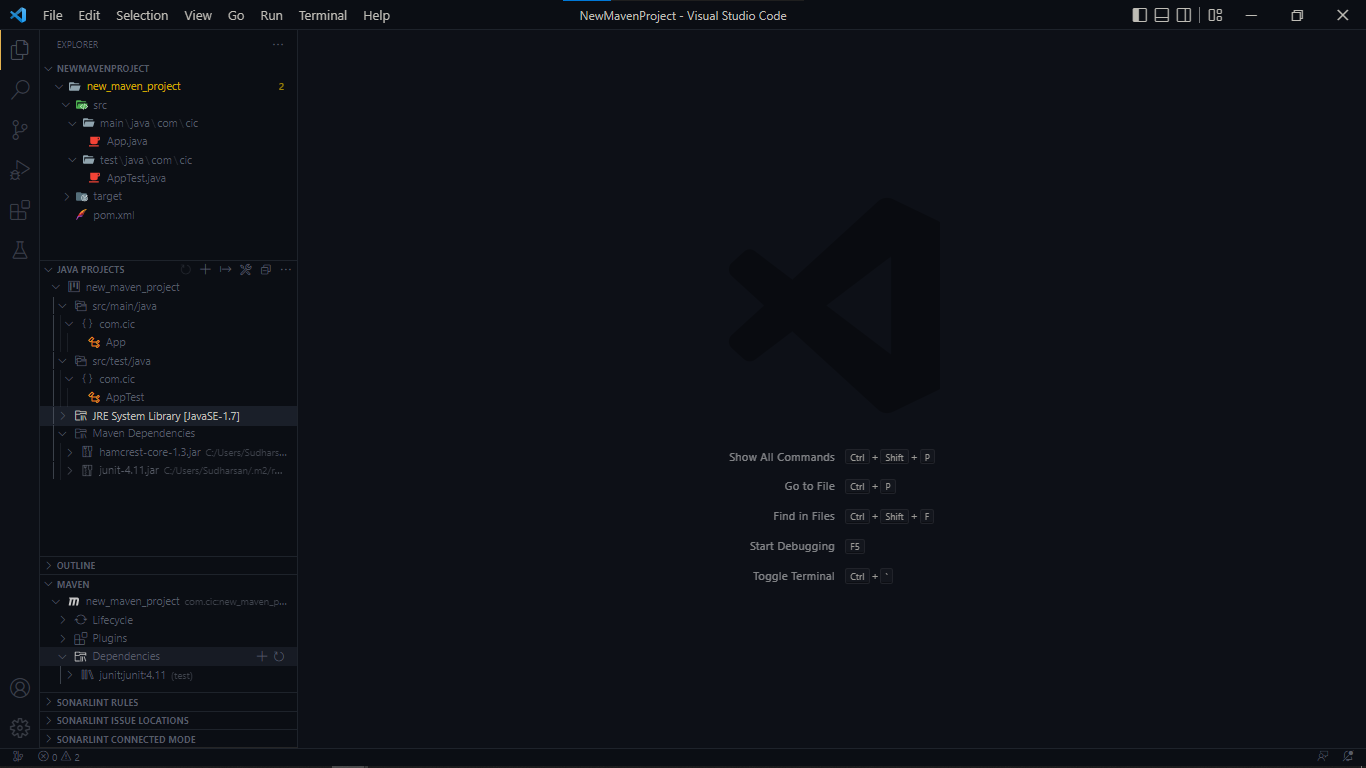
You will get a Build Success message. You'll also see a new 'new_maven_project' folder on the left section of the VS Code window. Hit Enter once again.
That's it. Your new maven project is ready to code.
I hope this tutorial helped you understand maven project creation using VS Code in a concise manner. Do let me know in case of any doubts or if I have left out anything.
